# Administration
The administration area is only accessible from the personal app, in the left sidebar.
Personal App > Dashboard > Administration

# Administration Functionality
Navigation is simple, the side menu allows you to :
- see and manage all the publications of your Cocoom knowledge base
- view and manage all thematic feeds
- view and manage all tags
- design and send out newsletters
- select publications that will appear in the "front page".
- view and manage all users
- consult statistics and survey results on the entire knowledge base
# Publications
In this tab, you can see all the publications of all users.
For each of them you have the possibility to :
- modify
- unpublish
- delete
TIP
📌 If you need to create a publication involving several users, simply give them an "administrator" profile so that they can have sufficient rights to edit the same publication together.

# Channels = Structure 🎓
Your Cocoom visual knowledge base is organized in #thematic channels.
These #channels are the categories of knowledge that you will be able to associate to teams and add in the tabs. If you have administrator rights, you can modify the structure of your knowledge base to :
👉 add, modify or delete #thematic channels

A #thematic channel consists of :
- 🔗 Name : it needs a short and evocative name, spaces are allowed and you can add emojis in the channel name
- 📄 Description : a short text that helps other members of the organization to understand the content of this channel of knowledge
- 🏞 Visual : you can add a visual to represent the thematic channel, by default the visual takes the color of your thematic channel and a white #.
- 🎨 Color : your thematic channel is characterized by a main color. This color will be applied automatically in all memos, allowing readers to easily recognize the origin of a memo and to provide graphic consistency. You can select the color from the proposed palette or specify a Hexadecimal color code.

You will find this structure visible in the "knowledge base" tab, in "my Subscriptions" and when adding a Cocoom tab in your Microsoft Teams channels.
# Tags = filter 🏷
Tags allow you to add a level of specification to publications.
It is very important to think carefully about the tag structure and to make it evolve regularly because it allows you to filter the information in all Cocoom views.
⚠️ To add a tag, enter the word or sequence of words and press "enter" to validate the addition. Don't forget to save all your changes.

# Newsletter 🗞
The "Newsletter" feature allows you to design a newsletter from your knowledge base's publications and send it to all users.
TIP
📌 Ask for the customization of your knowledge base (see offer) to personalize the logos, colors and distribution addresses of your newsletter.
Click on "create a newsletter" then fill in the fields of the form :
- subject : the subject of your email
- title: the title that appears at the top when opening the email and in summary, under the subject line
- editorial: introductory text under the title before front page publication
- front page publication: publication in the spotlight (only 1 selection possible)
- following publications: up to 9 publications selected from the newsletter's sequel

Then click on "preview" in the top right-hand corner
You see what users will see in their mailboxes, you can :
- edit it to change it
- save it
- schedule shipment
- send it immediately

⚠️ A newsletter is sent to all the users of your knowledge base, i.e. all the users present in the "users" tab, including those whose accounts are awaiting validation (an invitation has been sent but not validated by the user). Deactivated users do not receive it, however.
# Breaking news 🗞
This tab allows you to select up to 5 publications to be permanently displayed in the top banner of the "front page".
This page is the first visible page in your "knowledge base" consultation.
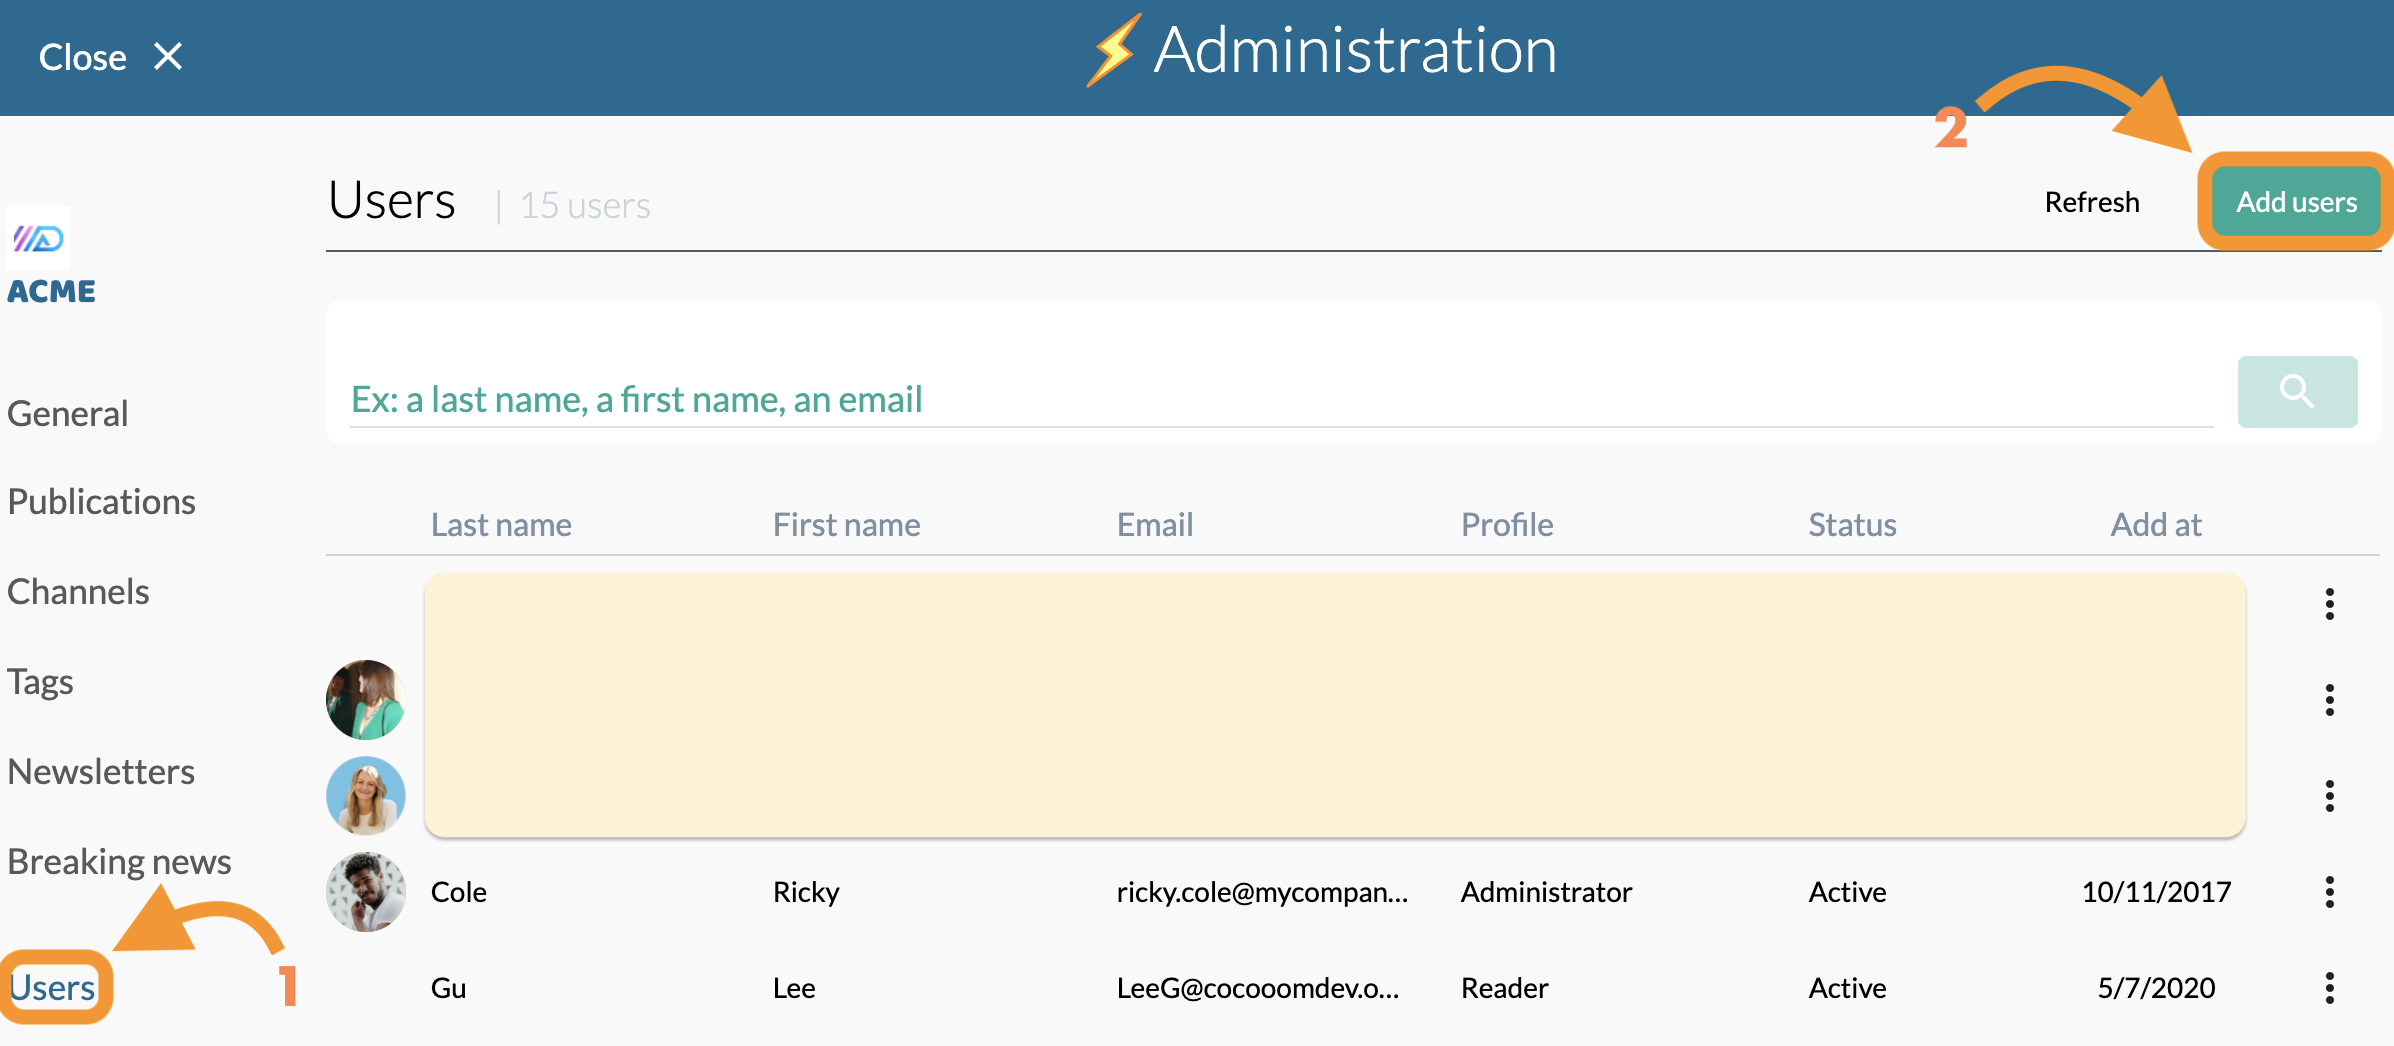
# Users 👨
Cocoom runs on a pre-provisioning mode which lets you freely choose exactly who has access to Cocoom from your organization. The drawback is, for you as an admin, to keep users list synchronized with your organization turnover.
👉 Manually add all the email addresses of the users to invite, they will receive an email inviting them to create or link their account.

In the users management view you will be able to :
# Add a user
To add several users at once, you can simply copy/paste a list of emails in the dedicated text area.
You can also choose their profile.
# Modify a user
All possible actions to update a user are accessible from the 3 dots menu at the end of each users list row. You can :
- Change user profile: he could be 'administrator' as you are, 'contributor' ou 'reader'.
- deactivate a user
- delete a user
- activate a user
# Deactivate a user
The user can't access your Cocoom anymore and he's no more listed in Cocoom directory, but he's still in the list of your users.
# Activate a user
The user will get back everything like its was before his deactivation.
# Deleting a user
You can delete a user from your Cocoom if he was deactivated before. In that case, you won't see that user in your users list anymore.
NOTE
Everything done by this user will still be there.
He will no more be listed into your Cocoom directory.